
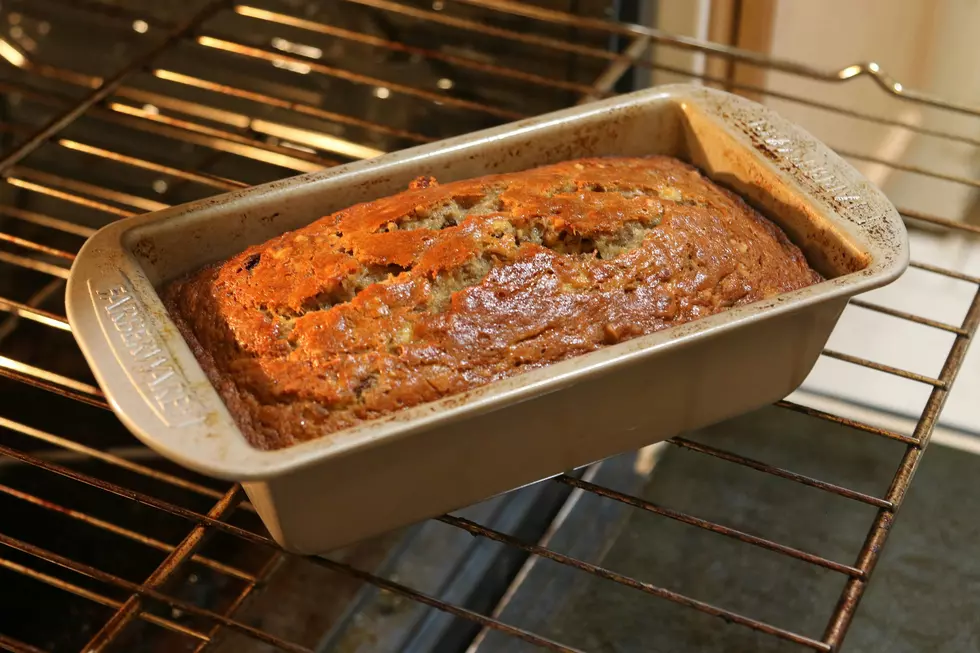
Don’t Toss Those Rusty Bread Pans – Here’s How To Save Them
I was all set to make a bunch of zucchini bread this past weekend when I pulled out my old bread pans and discovered something I definitely wasn’t expecting.
Rust.
IS THAT REALLY RUST ON YOUR BREAD LOAF PANS?
There were little orange-ish spots all over some of my pans, and my first thought was, “Well, I guess these are going in the garbage.” YES. Those spots really are rust. This makes me so mad, because every year, I wash all the pans when I'm finished baking, and then I try to dry them thoroughly before storing them; yet every year, they turn out looking like this.
But before you throw away those old baking pans, it doesn't necessarily mean your pan is ruined.

HOW TO USE YOUR RUSTY LOAF PANS
If the rust is light on your loaf pans is light and can be brushed or scrubbed away, you can remove it, wash the pan really well, and dry it completely. Once the rust is gone and the pan is in good condition, you can continue using it.
EASY TRICK
There is another little trick if you're dealing with an older pan that you're not completely comfortable baking directly in. Instead of using wax paper, which isn't meant for oven baking, use parchment paper. You can crumple up a sheet of parchment paper, smooth it back out, and press it into the bread pan before adding your batter. It doesn't have to look perfect. In fact, the wrinkles can actually make it easier to lift the finished loaf out of the pan.
OTHER STORIES BY KELLY CORDES
Minnesota DJ Uses Simple Trick To Make The Best Zucchini Lasagna Ever
WHEN YOU SHOULD REPLACE YOUR BREAD LOAF PANS
There are circumstances where it is time to get rid of your loaf pans. If your pan has heavy rust, deep pitting, flaking metal, or damage that can't be cleaned up, it's time to replace it. And never put food in a pan that has loose pieces of rust or damaged coating coming off.
Now that the pans are ready to go, I'd like to share with you a super recipe that has been a hit with my friends and family. I bought all my supplies and baked all weekend. This same recipe works whether you like your bread firmer or moist; it's all in the cooking time. Take this recipe down, because not everyone makes it like this. I have found that people who typically don't like zucchini bread DO like it when I make it this way. Here is my recipe and my secret weapon.
ZUCCHINI BREAD RECIPE
I have a zucchini bread recipe that I absolutely love, and there is a reason it turns out so good. It's moist without being mushy, has just the right amount of sweetness, and makes your kitchen smell amazing while it's baking.
And if your garden is producing zucchini faster than you can eat it, this is one of the best ways to use it.
INGREDIENTS
- 3 cups of all-purpose flour
- 2 1/4 cups white sugar
- 3 eggs
- 1 cup of vegetable oil
- 1 teaspoon salt
- 1 teaspoon baking soda
- 1 teaspoon baking powder
- 2 tablespoons cinnamon
- 2-3 teaspoons vanilla
- Applesauce (Sweetened or unsweetened)
- 2 cups of zucchini, BLENDED. (Not shredded).
PREPARE ZUCCHINI
First, prepare your zucchini. I typically cut my zucchini up in chunks and then fill a Ninja Blender 3/4 full with the chunks. Before blending, add about 1/4 to 1/2 cup of applesauce and then blend it all. The applesauce and zucchini blended together should equal 2 cups. (The applesauce is NOT in addition to the 2 cups).
Preheat oven to 325.
PREPARE YOUR LOAF PANS
If there are rusty spots in your loaf pan, take parchment paper, scrunch it all up into a ball, and then unravel the ball and place it in your loaf pan. Spray the sides and bottom with Pam baking spray.
If your pans have NO rusty spots, then you can bypass the parchment paper and just spray the pans, but honestly, they are easier to clean if you use parchment paper. So it's a win-win either way.
COMBINE DRY INGREDIENTS
IN A SIFTER: ADD Flour, salt, baking soda, baking powder, and cinnamon. Sift it into a bowl and set aside.
COMBINE WET INGREDIENTS
Beat together eggs, oil, vanilla, and sugar in a large bowl. Then add the sifted ingredients to the creamed mixture and beat well. Then, stir in the two cups of zucchini until blended.
FILL YOUR PANS
Take your batter and fill your pans just a smidge over halfway. If you fill them too full, it will take 2 hours to bake.
Bake your 1/2 filled pans for 60 minutes...and then check with a toothpick in the center. If you can see the dough still moving, add an extra 5 minutes to your baking time until you see that there is NO dough moving and you can insert a toothpick in the center and it comes out clean.
REMOVE AND COOL
Once your bread has baked completely, you can remove it from the oven. I typically let them cool for 15-20 minutes in the pans, and then I dump them out onto a cooling rack. Once cool, I package them in freezer bags and give them away as gifts, or put some in the freezer for the holidays.
I hope you enjoy this recipe as much as I do. You can make lots of variations, but this recipe is one of my favorites.
Little River Band at the Ledge Amphitheater, 2026.
Gallery Credit: Paul Habstritt
Come Visit Princeton, Minnesota With Us
Pantowners 50th Anniversary Car Show and Swap Meet
Gallery Credit: Paul Habstritt
More From 98.1 Minnesota's New Country